D-1
Prior to brew day itself I review and come up with the recipe, and make sure I have all the ingredients on hand. (Links to these resources are on the right panel.) I typically use Brew Pal on the go, and for certain styles I'll also use the EZ water calculator to adjust the water.
Brew Day
1) Equipment prep
I stash away everything when not in use, so the entire setup is put together on brew day morning. This includes the mash tun, wiring everything up, setting up the grain mill etc. It takes about 15 minutes, give or take.
 |
| Mash tun, with recirculation pump on the brew stand |
 |
| Grain mill over a bucket, driven by a power drill |
2) Strike water
I made volumetric markings on a food-grade pail, and the entire brew-boil volume is added into the mash tun as I do full volume mashes with no sparge. For my particular system, my mash volume is usually 30L - after accounting for water absorption by the grain, sampling and boil-off, I end up close to 23L most of the time.
A quarter Campden tablet is crushed and added to the water, and the analog thermostat set to the dough-in temp. I have found that since I'm using such a large volume, temperatures do not usually drop when I add the grains. Any salts (gypsum/calcium/carbonates) are added to the water at this stage, I start up the recirculation pump, and it is left to heat up. This takes about half an hour, and in the meantime ..
 |
| Adding powdered Campden to the water |
 |
| Clipping the laundry bag and waiting for the water to heat up. |
3) Crush grains
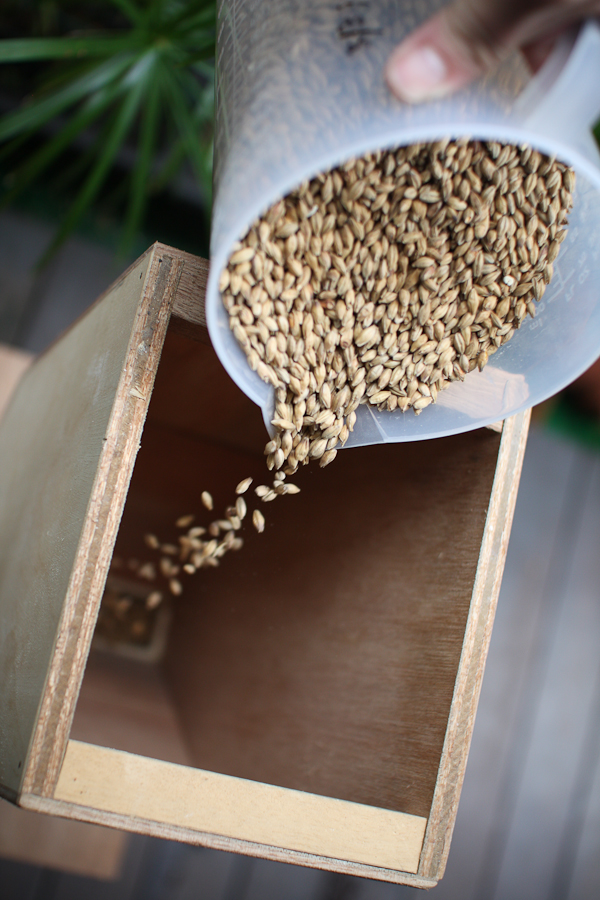
Grains are measured out by weight and loaded into the grain mill. I use a corded power drill to drive the mill, with a 5-minute break about halfway through so that I don't overheat the drill. (Or am I being paranoid here?)
 |
| Weighing out grains. And yes, I tend to make a mess! |
 |
| Filling up the mill's hopper with grain |
4) Mash-in
The crushed grain is added to the heated strike water, while being stirred continuously to break up any clumps. I continue stirring the mash for as long as my arms can take it, before letting the mash convert for the next hour or so.
In the meantime, the the hops are weighed out in preparation for the boil.
5) Mash-out
At the end of an hour (or 90 minutes, depending on the recipe), the analog thermostat is set to heat the water up to 75C.The entire grain bag is then lifted out of the mash tun, and held there so that wort can drip out of the bag. Subsequently, I place it into the food-grade bucket to further drain (this leftover unhopped wort is then used to make an yeast starter subsequently).
6) Boil
The thermostat is set to 110C, and since this particular heating element heats 30L of wort at a rate of 1C per minute, it takes about 30-40 minutes before we get a rolling boil. A hop sock is clipped to the side of the tun, and hops as added in at their respective addition timings. (Either that, or I place the hops in tea straining bags and dump the entire bag in.) The wort is usually boiled for 60 minutes, sometimes longer. In the meantime, I prepare the HDPE jerry can by rinsing it out with water and doing a preliminary sanitisation with Star San. With 15 minutes left to the boil, I add hot-side finings such as Whirlfloc or Irish moss. The power is cut at the end of the boil, and the wort is transferred to the HDPE jerry can and the lid screwed on. While it is still very hot, the HDPE jerry can is rotated through all sides so that the near-boiling wort and steam will completely sanitise the entire interior. This is then left at room temperature to cool down overnight.
 |
| Hops in a tea bag |
 |
| Lifting the entire bag of grains to allow it to drain. Fantastic arm exercise! |
Before I end the day off, I get the leftover wort from the food-grade basket which has been dripping out of the grain bag. It is diluted to a gravity of 1.040, covered with foil and boiled in a Borex flask for 20 minutes. This is then left to cool to room temperature (usually overnight).
And finally, comes the tedious part - cleanup!! If I'm brewing again the following weekend, I usually do a quick one by flushing the entire tun and recirculation hose. Every few brews or so, I do a complete cleanup. I add 2 heaping spoons of dry colour bleach (it's essentially sodium percarbonate and/or hydrogen peroxide), add 10L of water, heat it up and recirculate the entire system before flushing it out.
Cooling
The wort in the jerry can is left to cool at room temp overnight, after which it is placed into the fermentation fridge to cool to pitching temperature (18C most of the time, 16c for Pacman yeast).
Pitching Day
When the yeast starter is ready, usually at Day 2 when it is at high krausen, the contents of the jerry can are tipped into my plastic fermenter. The wort is then aerated for 60 seconds using pure O2 and a stainless steel airstone, and the yeast pitched. That's it, quick and easy!
I have recently moved on to single-vessel fermentation as well, so here's the link to the updated ferment-in-keg process that I use.


0 comments:
Post a Comment